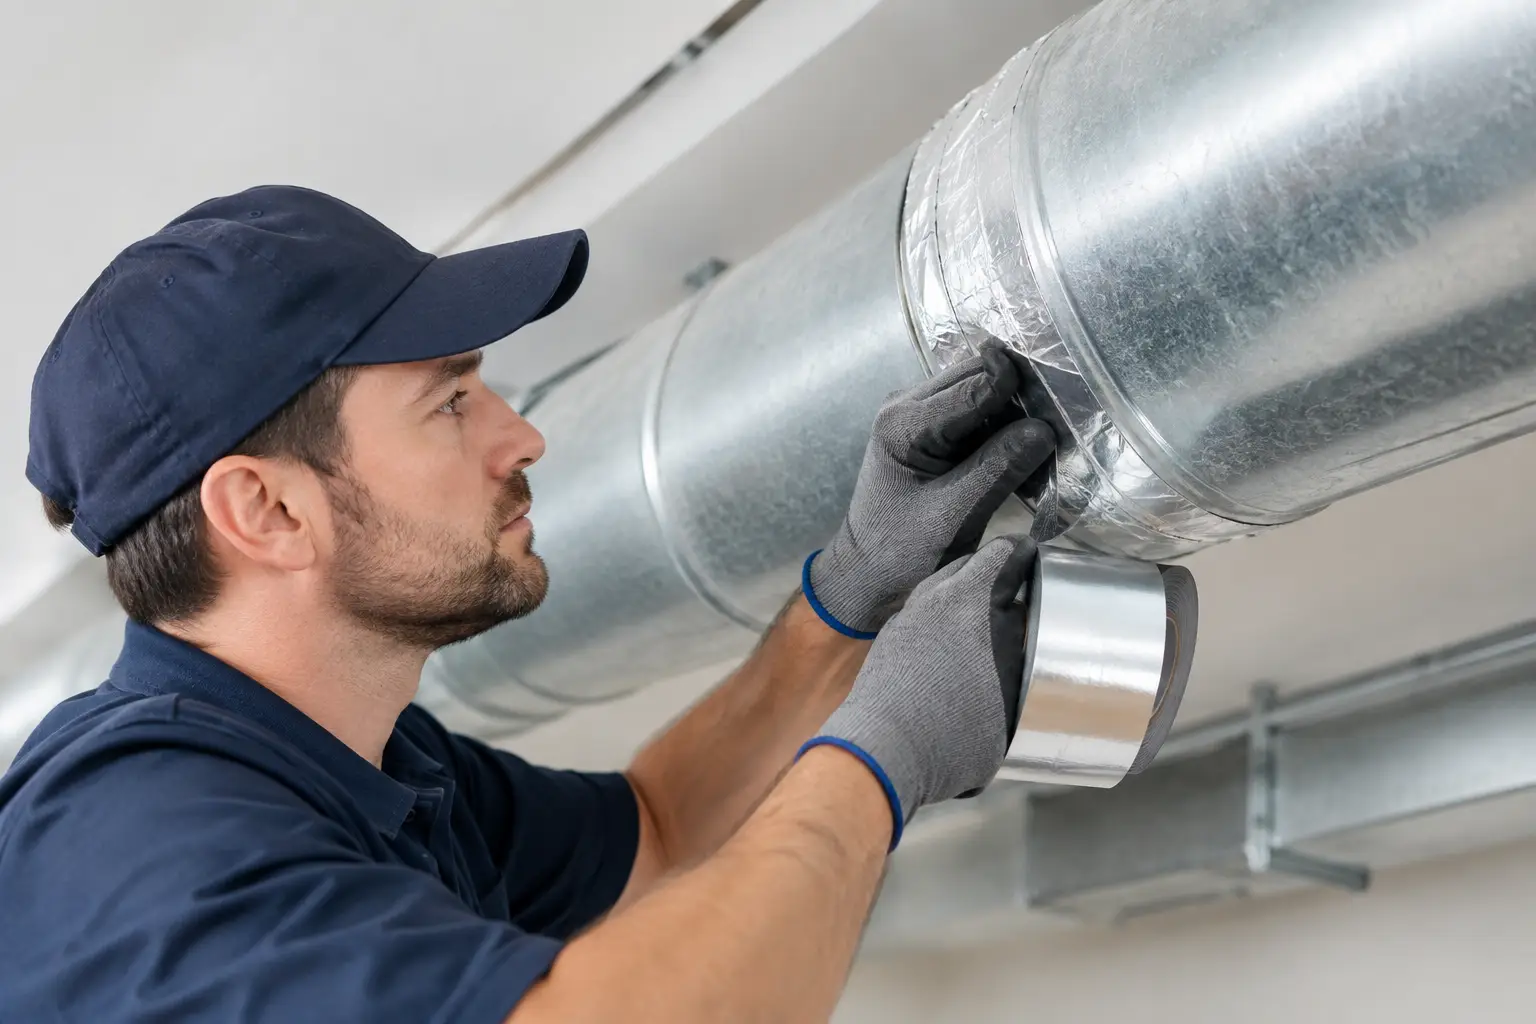
A room that never seems to reach the thermostat setting, dusty vents, and rising utility bills can all point to the same hidden problem: leaky ductwork. Learning how to seal duct leaks can improve airflow and comfort, but the right repair depends on where the leak is, what the ducts are made of, and whether the system has larger airflow issues.
Most homes lose conditioned air through joints, seams, disconnected runs, and gaps around supply boots. In an attic, crawlspace, garage, or unfinished basement, that means expensive heated or cooled air may be escaping before it reaches your living space. The result is longer run times, uneven temperatures, and unnecessary strain on your furnace, heat pump, or air conditioner.
Start by Finding the Leaks You Can Safely Reach
Focus first on exposed ductwork in accessible areas. You do not need to pull apart walls or ceilings to address the most common and visible leaks. Turn the HVAC system on and carefully inspect the ducts while air is moving through them.
Look for loose connections, separated duct sections, torn flexible ducts, gaps around metal joints, and old tape that is peeling away. Dust streaks around a seam are another useful clue. Escaping air can pull dust toward a leak, leaving a gray or dark line around the connection.
Pay close attention to supply and return duct connections. Supply ducts deliver conditioned air to rooms, while return ducts carry indoor air back to the equipment. Return-side leaks are especially worth addressing because they can draw dusty, humid, or unconditioned air from attics, crawlspaces, and garages into the system.
A hand placed near a suspected seam may reveal noticeable airflow. For a more careful check, hold a thin piece of tissue near the joint. Movement can indicate a leak. Avoid using open flames or smoke near ducts, furnaces, water heaters, or any combustion equipment.
Choose the Right Material for Sealing Duct Leaks
Not all tape is made for duct repairs. Standard cloth-backed duct tape often dries out and fails under the temperature changes common in HVAC systems. Despite its name, it is not a dependable long-term solution for duct seams.
For most accessible leaks, use HVAC-rated foil tape or water-based duct mastic. Foil tape works well on clean, dry metal ducts and is convenient for small seams and joints. Choose tape labeled for HVAC use, preferably with a recognized performance rating such as UL 181.
Duct mastic is a thick, flexible sealant designed specifically for duct connections. It is often the better choice for irregular gaps, corners, and joints that need a durable air seal. Apply it with a disposable brush or gloved hand, following the product instructions for thickness and drying time. For wider gaps, embed fiberglass mesh tape in the first layer of mastic, then coat over it.
Flexible ducts require extra care. If the inner liner is torn, crushed, or disconnected, tape alone may not be enough. The liner must be properly reconnected to the collar, secured with an approved clamp or tie, and sealed with mastic or rated foil tape. The outer insulation jacket also needs to be pulled back into place and sealed to prevent condensation and energy loss.
How to Seal Duct Leaks Step by Step
Before beginning, turn off your heating and cooling system at the thermostat. If you will be working close to the air handler, furnace, or electrical components, shut off power at the appropriate disconnect or breaker as well.
Start by cleaning the area around each leak. Mastic and foil tape adhere best to dry surfaces free of dust, grease, and loose old tape. Remove failing tape completely when practical. If a joint is visibly loose, reconnect and secure it before sealing. A sealant cannot reliably hold together ductwork that has shifted or come apart.
For a small metal-duct seam, press HVAC foil tape firmly over the entire gap. Extend the tape beyond both ends of the leak, then smooth it down with a squeegee or the back of a spoon so there are no lifted edges.
For larger openings or uneven joints, brush mastic over the seam. Cover the full perimeter of the connection, not just the spot where you feel air escaping. Apply enough material to create a continuous coating without leaving pinholes. If using mesh tape, press it into the wet mastic, then add another coat over the top.
Allow the material to cure according to the manufacturer’s directions before running the system. Once it is dry, turn the equipment back on and check the repair. You should no longer feel air moving at the joint.
Do Not Forget Duct Insulation
Sealing and insulating solve different problems. Sealing keeps conditioned air inside the duct. Insulation reduces heat gain or loss through the duct walls. Ducts in attics, crawlspaces, garages, and other unconditioned areas usually benefit from both.
After sealing a duct, repair any damaged insulation jacket. Keep insulation dry and intact, and make sure vapor barriers are properly secured. Insulating a duct before fixing leaks can hide the problem and make later repairs harder.
Do not cover equipment access panels, electrical connections, flue pipes, or safety controls with insulation. Clearance requirements around combustion equipment are not optional. When in doubt, stop and have a licensed HVAC professional assess the area.
When a DIY Duct Repair Is Not Enough
Accessible minor leaks are reasonable DIY projects for many homeowners. However, some duct problems call for professional testing and repair. Leaks behind finished walls, beneath slabs, in tight crawlspaces, or near sensitive equipment are difficult to diagnose accurately without the right tools.
You should also schedule an HVAC assessment if several rooms have weak airflow, the system is noisy, utility costs have jumped, or the furnace and air conditioner run constantly. These symptoms may be caused by more than leakage. Undersized ducts, poor return-air design, clogged filters, failing blower components, disconnected runs, or an improperly sized system can create similar comfort problems.
A professional duct leakage test measures how much air the duct system is losing and helps identify whether repairs will make a meaningful difference. This is particularly valuable before replacing heating or cooling equipment. Installing a high-efficiency unit on a poorly sealed duct system can limit the comfort and savings you expect from the upgrade.
There are also safety situations that should never be treated as a simple tape-and-seal project. If ducts are near gas appliances, show signs of mold or water damage, contain suspected asbestos-containing materials, or are heavily contaminated, arrange for qualified service. Likewise, never seal or block combustion-air openings, appliance vents, or flue connections.
Keep Leaks From Returning
Ductwork moves slightly as temperatures change and equipment cycles on and off. A repair that looks fine today can fail later if the duct is unsupported or under stress. Check exposed ducts during seasonal maintenance, especially after work in an attic, crawlspace, or basement.
Use a clean HVAC filter and replace it on schedule. A severely restricted filter can increase system pressure and expose weak duct connections. Keep supply registers and return grilles open and unobstructed so air can move as the system was designed to move.
If you are planning a new furnace, heat pump, central air conditioner, or zoning upgrade, include the duct system in the conversation. Comfort comes from the whole system working together, not from the equipment alone.
A well-sealed duct system is one of the quieter improvements a home can make: fewer hot and cold spots, cleaner airflow, and less conditioned air disappearing into spaces you do not live in. Start with the accessible leaks, use materials made for HVAC work, and bring in a qualified technician when the problem extends beyond what you can safely see.